

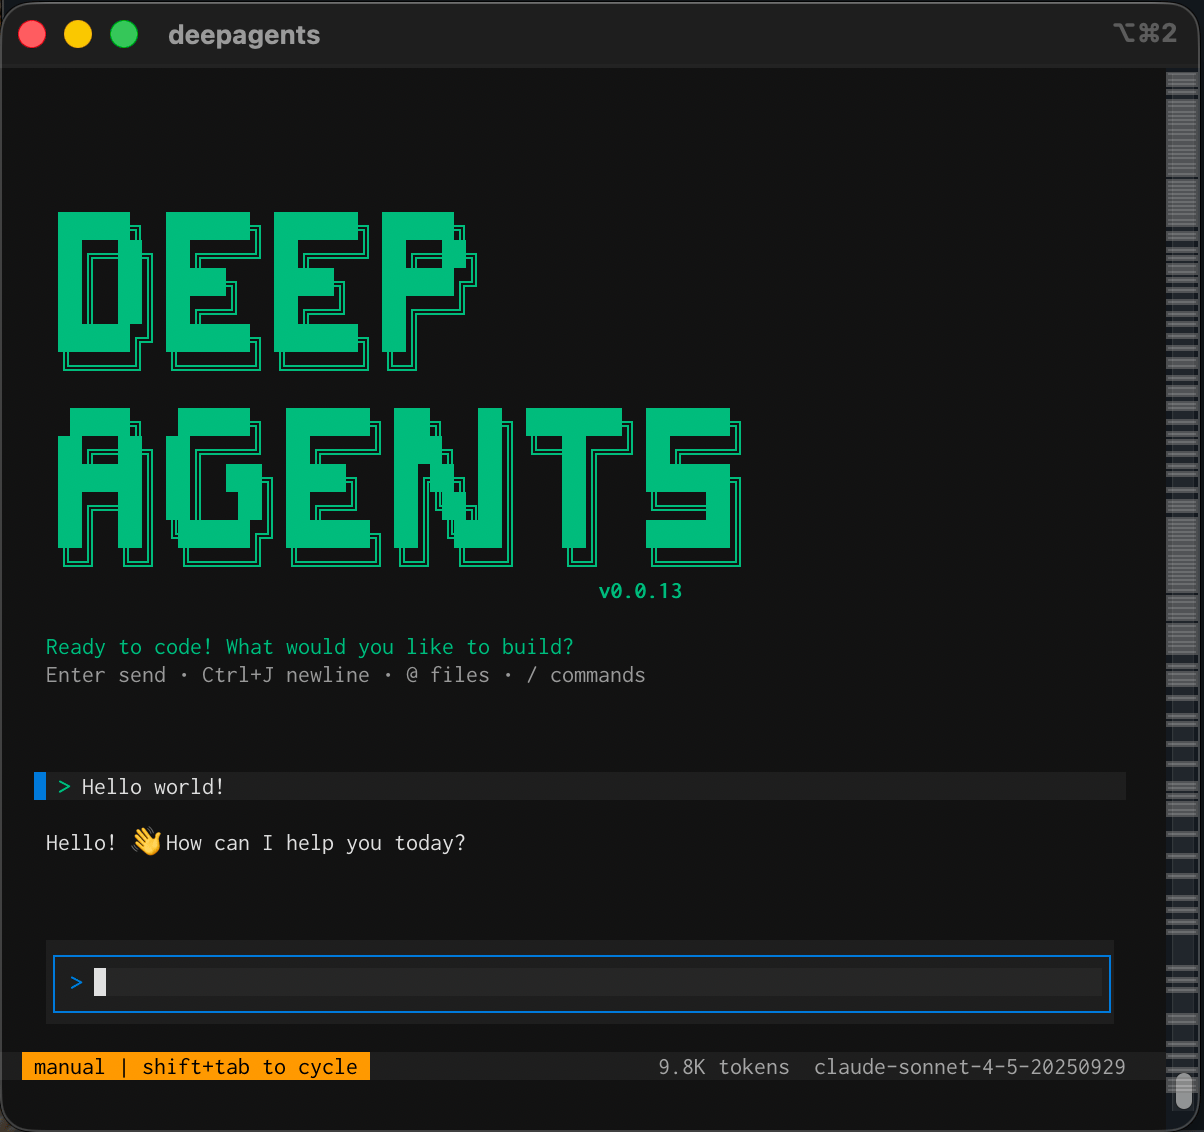
- File operations - read, write, and edit files in your project with tools that enable agents to manage and modify code and documentation.
- Shell command execution - execute shell commands to run tests, build projects, manage dependencies, and interact with version control systems.
- Web search - search the web for up-to-date information and documentation (requires Tavily API key).
- HTTP requests - make HTTP requests to APIs and external services for data fetching and integration tasks.
- Task planning and tracking - break down complex tasks into discrete steps and track progress through the built-in todo system.
- Memory storage and retrieval - store and retrieve information across sessions, enabling agents to remember project conventions and learned patterns.
- Human-in-the-loop - require human approval for sensitive tool operations.
- Skills - extend agent capabilities with custom expertise and instructions stored in skill directories.
Full list of built-in tools
Full list of built-in tools
Built-in tools
The agent comes with the following built-in tools which are available without configuration:1: Potentially destructive operations require user approval before execution.
To bypass human approval, you can toggle auto-approve or start the deep agent with the
auto-approve option:Quickstart
Set your API key
- OpenAI
- Anthropic
- Google
Export as an environment variable:Or create a
.env file in your project root:If you have multiple API keys set, you can use the
--model CLI option to specify which model to use, which will automatically use the corresponding API key.
For more information see Additional installation and configuration options.Run the CLI
Give the agent a task
Additional installation and configuration options
Additional installation and configuration options
Install locally if needed:Each model provider requires installing its corresponding LangChain integration package. These are available as optional extras when installing the CLI:For the full list of supported providers and configuration options, see Custom model providers.If you have a saved default model in You can also use bare model names for auto-detection:Enable web search (optional):API keys can be set as environment variables or in a
~/.deepagents/config.toml, the CLI uses that. Otherwise, it automatically selects a provider based on which API keys are available. If multiple keys are set, it uses the first match in this order:To use a different model, pass the
--model flag or use provider:model format for explicit provider selection:.env file.Tracing with LangSmith
Enable LangSmith tracing to see agent operations in your LangSmith dashboard:-
Enable LangSmith tracing:
-
Configure agent tracing for deep agent operations such as tool calls and agent decisions:
-
If you are building a LangChain app with deep agents, and want to separate agent traces from your app’s traces, also configure
LANGSMITH_PROJECT:
Configuration
Each agent has its own configuration directory at~/.deepagents/<agent_name>/.
The default agent name is agent.
As you start the agent if no folder for that agent name exists then it’s created at that path ~/.deepagents/<new_agent>/.
Command-line options
Command-line options
CLI commands
CLI commands
Interactive mode
Type naturally as you would in a chat interface. The agent will use its built-in tools, skills, and memory to help you with tasks.Slash commands
Slash commands
Use these commands within the CLI session:
/model- Switch the active model (opens interactive selector)/model <provider:model>- Switch directly to a specific model (e.g.,/model anthropic:claude-sonnet-4-5)/remember- Review conversation and update memory and skills/tokens- Display token usage/clear- Clear conversation history/quit- Exit the CLI/help- Show help/threads- Show session info/version- Show version
Bash commands
Bash commands
Execute shell commands directly by prefixing with
!:Keyboard shortcuts
Keyboard shortcuts
Switch models
You can switch models during a session without restarting the CLI using the/model command, or at launch with the --model flag:
/model with no arguments to open an interactive model selector that displays available models grouped by provider.
For full details on switching models, setting a default, configuring custom providers, and using the ~/.deepagents/config.toml config file, see Custom model providers.
Teach your agent project conventions
As you use the agent, it automatically stores information in~/.deepagents/<agent_name>/memories/ as markdown files using a memory-first protocol:
- Research: Searches memory for relevant context before starting tasks
- Response: Checks memory when uncertain during execution
- Learning: Automatically saves new information for future sessions
Customize your deep agent
There are two primary ways to customize any agent:-
Memory: Global and project-specific
AGENTS.mdfiles which are loaded in full at session start. Use memory for general coding style and preferences. - Skills: Global and project-specific context, conventions, guidelines, or instructions. Use skills for context that is only required when performing specific tasks.
Provide project or user context
AGENTS.md files files provide persistent memory that is always loaded at session start.
You can provide global user memory for the agent in ~/.deepagents/<agent_name>/AGENTS.md.
This file is always loaded when you start a new deep agent session.
The agent may also read its memory files when answering project-specific questions or when you reference past work or patterns.
For project-specific memory, you can add context to .deepagents/AGENTS.md in any project’s root folder as long as the project uses git.
When you start the CLI from anywhere within the project’s folder, the CLI will find the project’s root folder by checking for a containing .git folder.
Both global and project-level AGENTS.md files are loaded together and appended to the system prompt at startup.
The agent will update them as you use the agent and provide it with additional information on how it should behave, feedback on its work, or instructions to remember something.
The agent will also update its memory if it identifies patterns or preferences from your interactions.
If you would like to explicitly prompt your deep agent to update skills and memory based on the current context from the thread use the /remember command which loads a custom instruction to review the context and perform updates.
To add more structured project knowledge in additional memory files, you can add them in .deepagents/ and reference them in the AGENTS.md file.
You must reference additional files in the AGENTS.md file for the agent to be aware of these files.
The additional files will not be read on startup but the agent can reference and update them when needed.
When to use global vs. project `AGENTS.md`
When to use global vs. project `AGENTS.md`
Global
AGENTS.md (~/.deepagents/agent/AGENTS.md)- Your personality, style, and universal coding preferences
- General tone and communication style
- Universal coding preferences (formatting, type hints, etc.)
- Tool usage patterns that apply everywhere
- Workflows and methodologies that don’t change per-project
AGENTS.md (.deepagents/AGENTS.md in project root)- Project-specific context and conventions
- Project architecture and design patterns
- Coding conventions specific to this codebase
- Testing strategies and deployment processes
- Team guidelines and project structure
Use remote sandboxes
Execute code in isolated remote environments for safety and flexibility. Remote sandboxes provide the following benefits:- Safety: Protect your local machine from potentially harmful code execution
- Clean environments: Use specific dependencies or OS configurations without local setup
- Parallel execution: Run multiple agents simultaneously in isolated environments
- Long-running tasks: Execute time-intensive operations without blocking your machine
- Reproducibility: Ensure consistent execution environments across teams
-
Configure your sandbox provider (Runloop, Daytona, or Modal):
-
Run the CLI with a sandbox:
The agent runs locally but executes all code operations in the remote sandbox. Optional setup scripts can configure environment variables, clone repositories, and prepare dependencies.
-
(Optional) Create a
setup.shfile to configure your sandbox environment:Store secrets in a local.envfile for the setup script to access.
Use skills
Skills are reusable agent capabilities that provide specialized workflows and domain knowledge. You can use skills to provide your deep agent with new capabilities and expertise. Deep agent skills follow the Agent Skills standard. Once you have added skills your deep agent will automatically make use of them and update them as you use the agent and provide it with additional information. If you would like to explicitly prompt your deep agent to update skills and memory based on the current context from the thread use the/remember command which loads a custom instruction to review the context and perform updates.
Add skills
-
Start by creating a skill:
- User skill
- Project skill
This will generate the correct the following files in your~/.deepagents/<agent_name>folder: -
Open the generated
SKILL.mdand edit the file to include your instructions. -
Optionally add additional scripts or other resources to the
test-skillfolder. For more information, see Examples.
~/.deepagents/<agent_name>/skills/ and .deepagents/skills/ directories.
For project-specific skills, the project’s root folder must have a .git folder.
When you start the CLI from anywhere within the project’s folder, the CLI will find the project’s root folder by checking for a containing .git folder.
For each skill, the CLI reads the name and the description from the SKILL.md file’s frontmatter.
As you use the CLI, if a task matches the skill’s description, the agent will read the skill file and follow its instructions.
List skills
To see the lists you have installed, run:- User skill
- Project skill
- User skill
- Project skill
Connect these docs to Claude, VSCode, and more via MCP for real-time answers.